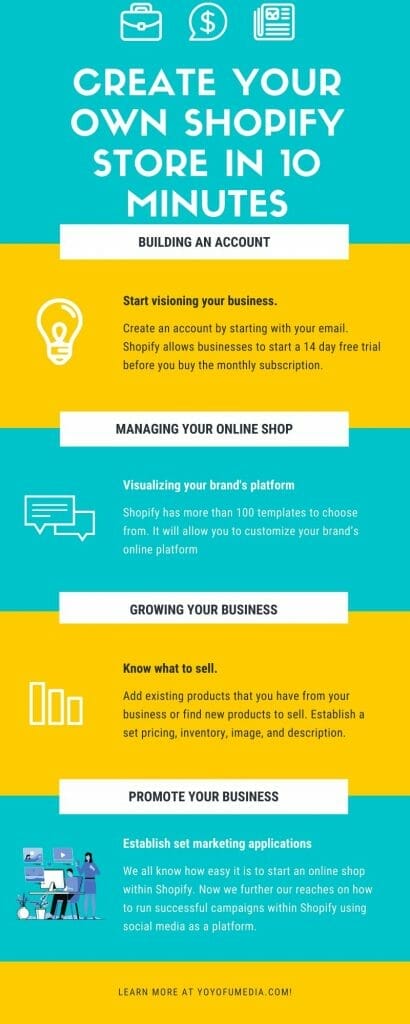
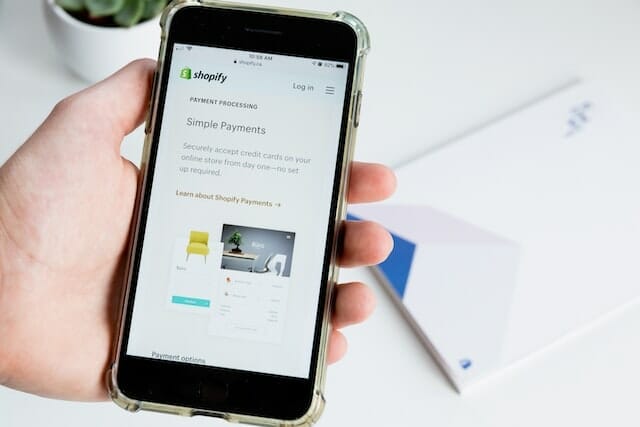
Are you a new business owner that is struggling to set up an online store such as Shopify? In this article, we will reveal the key steps to building a successful platform on Shopify.
What is Shopify?
Shopify is an e-commerce platform that allows businesses to create an online store to sell to consumers.
Shopify has three mostly subscription prices ranging from $29/m to $299/m. And businesses to pick which subscription works best for them depending on, the number of staff accounts, locations, and shipping discounts.
If this sounds good for you, let’s get started on setting up your account with Shopify.
Here’s step by step instruction on how to set up your Shopify store.
Step 1: Build Your Account on Shopify
Let’s head over to Shopify.com and create an account by starting with your email. Shopify allows businesses to start a 14 day free trial before you buy the monthly subscription.
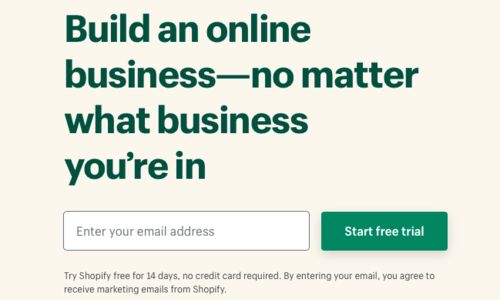
So, if you are still hesitant about Shopify try out the free 14-day trial. No credit card information and still allows you to play around with many features.
Step 2: Pick your Shopify Store Name
After entering your email to start your free trial you will be able to create an account. Start inputting your password and store name.
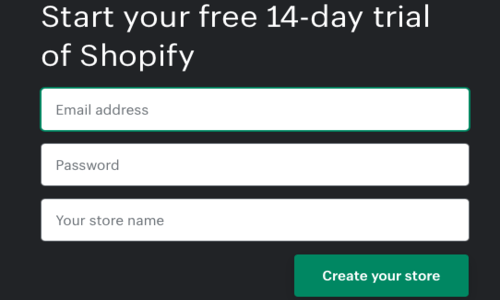
When choosing a name for your store it should be unique or it can be your business original name. Something that will be eye-catching to your future customers.
Step 3: Shopify’s Account Preference
This next step focuses on your basic company information. This allows Shopify to understand how to design your platform.
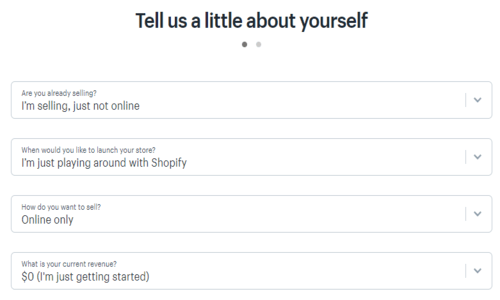
Selling preference
A key point is to find out what you want to sell on your platform. If you opt-in the free trial, Shopify allows you to choose the “I’m playing around” feature. This let’s them to know what you need help with. Whether it’s from the logo, names, finding a product to sell, or attending a webinar.
Current Revenue
If you’re a new business owner you would want to put $0 for revenue. You have not earned any revenue yet plus this is your trial period. Furthermore, if this isn’t your first rodeo go ahead and input your current revenue for your business.
Industry
Find out what you want to operate your business in. Whether its beauty, clothing, electronics, furniture, or photography. You choose what you want to focus on for your Shopify platform; this is what is going to be creating your revenue.
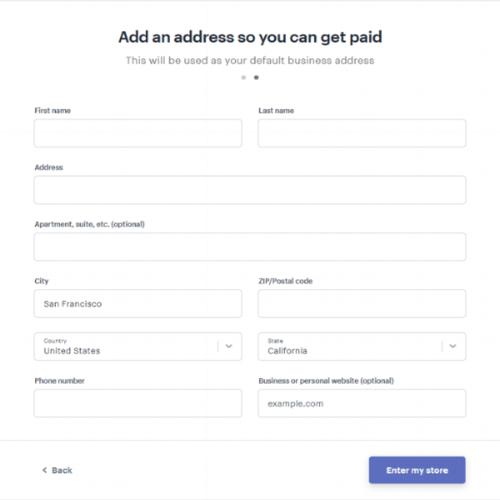
Step 4: Add An Address To Get PAID
In this next step, you must add your name, address, and phone number. This allows Shopify to pay you and calculate taxes based on your location. This step is mandatory to fill out to see the features Shopify has.
Step 5: The Perfect Theme For Your Shopify Store
Shopify has more than 100 templates to choose from. It will allow you to customize your brand’s online platform.
This feature allows you to change the color, images, and themes.
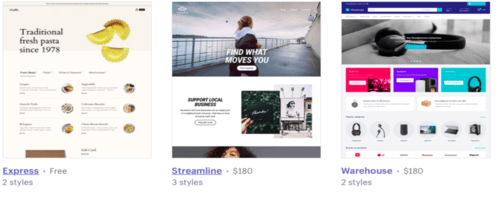
Shopify provides free themes in their theme store. From styles like Minimal, Simple, Supply, Brooklyn, Boundless, Venture, and more.
This gives a sense of how business owners want to display their online store to their customers. By having a certain layout it shows what kind of products the business is selling.
Example of a Shopify Platform for Beginners
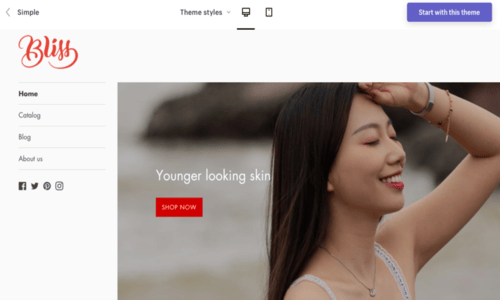
For example, if a business were to use the theme “Simple” as shown above. It will show that the brand is towards the beauty industry. This is due to the clean and minimal theme that beauty brands tend to go for in their online stores.
This theme is simple and straight to the point. This theme focuses on four tabs: Home, Catalog, Blog, and About Us.
Home
The home tab is an overview of the brand’s featured products. Such as, brand images, product information and job openings for cosmetic marketing professionals.
Catalog
Furthermore, the Catalog tab focuses on its collection of products. This gives an insight into how the company manages the category of their products.

Blog
The blog contains the contents of new collection launches. When creating a Shopify platform it will be ideal to have blog tab on your site. This helps customers can get a better understanding of your products.

Want more information to build a better Shopify website? Click here to read more.
Step 6: Adding Products To Your Shop
Finally, we get to add our products. In this part, you can add existing products that you have from your business or find products to sell. This section allows you to import and export inventory. As well as, establish pricing for the products.
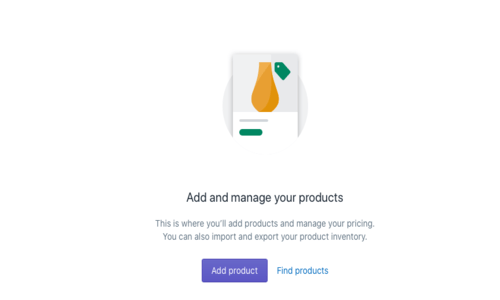
Ideas of products
The “Find products” link provides ideas on what you can sell on Shopify. Many businesses on Shopify sell accessory items. Such as like sunglasses, rings, watches, apparel, or phone cases. Starting small can help build your platform and brand loyalty with your future customers.
Step 7: Name and Description of your first product
Now it’s time to create the product you want to sell. Once you establish your product idea we must import information into Shopify. After this step, customers can buy from your business.
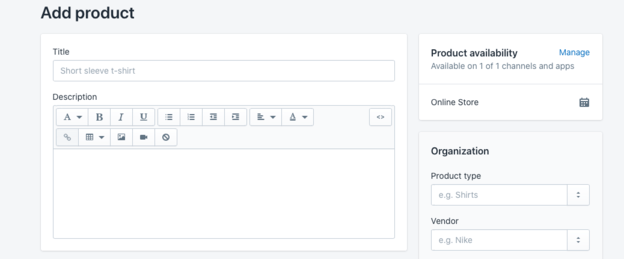
Let’s say that the first product you want to sell is a phone case. Since the phone case is full of glitter let’s call it “Rose Gold Glitter Phone Case”. This helps the buyer know what color and designs of the product. This is easier to find whether they are googling for a product like yours.
Description
For the description, it should focus on the type of phone that is compatible with.
Media
Whether you’re selling phone cases or any kind of product. Its important to provide an image for the product. Placing an image of your product will have a greater conversion rate rather than not having an image. If a customer goes to your site and sees that there is no image they are less likely to buy from your business. A photo is a great way to convince customers to buy from your shop rather than competitors.
Step 8: Pricing and Inventory
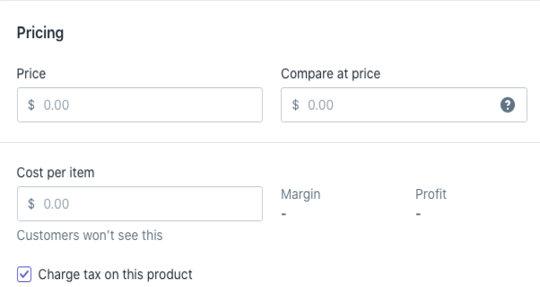
Pricing
Enter your pricing for the products you plan to sell. Using Shopify, it is important to check the “Charge Taxes” box. This will allow Shopify to correct sales tax based on the customer’s location.
Inventory
Entering an SKU will help identify each product that your are selling. It is important to change your “Inventory Policy” to “Shopify tracks this products inventory”. This will track how many products have sold and are available.

Step 9: Shipping
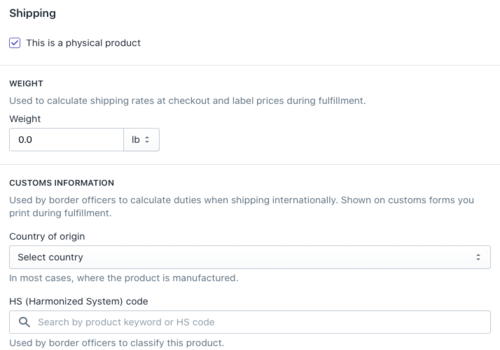
Shopify calculates the shipping price based on the weight and location of your product.
Step 10: Size, Color, Material, and Style
Start adding variants. For many product lists the different sizes and colors that the product comes in. Going back to our phone case example, we can use gold, rose gold, or purple as the colors.

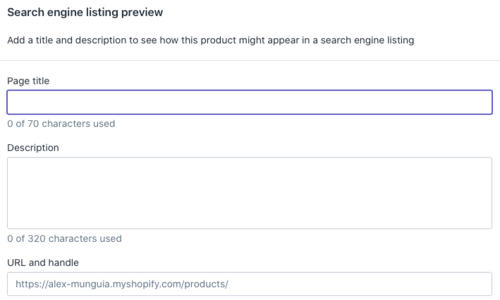
Step 11: SEO listing preview
Adding the listing and description will help optimize how the site will show up in Google, Bing, etc’s search engine results page.
Step 12: Product Availability
Product availability allows you to launch the products at a certain time and date. If you are a new business it is important to have a launch date for your new products. This will allow the buyer to prepare to buy your products or add them to a Wishlist. If you are planning to do this, it is important to list the time and date of your product launch on all social media platforms.

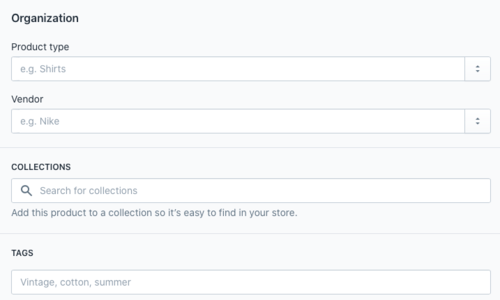
Step 13: Collection
Adding your product to a collection will help the customer to find it easier in your store. Like many brands they have a collection or style for all their products. Let’s take Ulta beauty for example, they provide their collection of products form eyes, face, lips, and hair products. This allows the customer to find what they are exactly looking for instead of looking for one product on multiple pages for hours.
You’re Done!
Once you hit “Publish” your products are ready to sell.
This is a basic introduction on how to set up a Shopify account. These steps will help your online store get ready for business. But there is more that come with managing a Shopify site.
Please share if any of these steps helped you set up your Shopify store. I wish you well with your future business.
Leave any comments below or recommendations for our next blog post.
Bonus Shopify Store Tips (Optional)
As we further assess the way Shopify runs. We notice that there is more ways to help your business grow on this platform.
Analytics
Shopify analytics provides a review of your store’s activity for the day or weeks. You can adjust what days you want to see by clicking on the calendar tab below the “Overview Dashboard” text. The analytics tab provides you with an overview dashboard and key financial reports. Below, I will further discuss in detail how to read these reports.
Overview Dashboard
The Overview Dashboard provides 16 reports that will help you track your stores analytics.
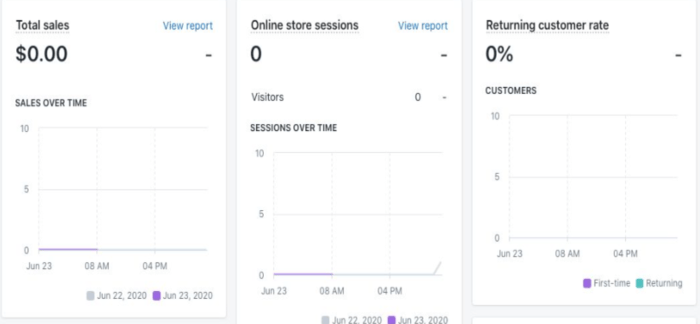
This shows the Total sales, Online store sessions, and Returning customer rate.
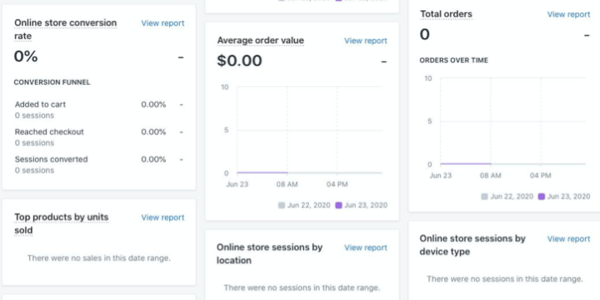
This shows the Online store Conversion rate, Average Order Value, and Total Orders.
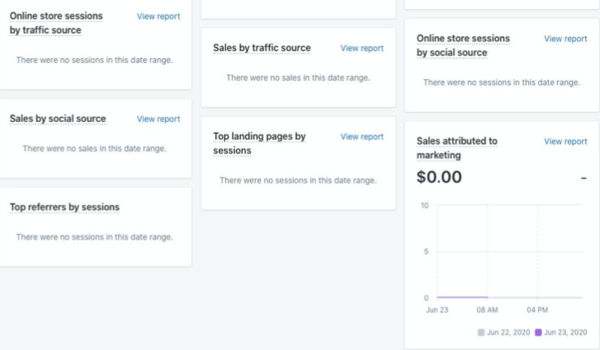
This shows the online store sessions by traffic source, sales by traffic source, online store sessions, by social source, sales by social source, top landing pages by sessions, sales attributed to marketing, and top referrers by sessions.
Since this is a lot to cover. Today, we will be focusing on the six main dashboard tabs to get you started on your shop. These top six are Total Sales, Online Store Sessions, Returning Customer Rate, Online Store Conversion Rate, Average Order Value, and Total Orders.
Total Sales
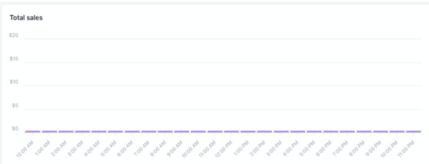
Above shows the total sales over time. You might ask yourself “How do I even read this?”. Well, here I am to answer your questions.
Since I have no products listed on my Shopify Platform it is showing zero sales. If you have a Shopify account that is already selling it will show different. Furthermore, total sales provide you a rundown of the dollar amount per hour. This provides you with an overview of how much you are making an hour or for the day.
Not only will this help you track how much you are making per hour but it will allow you to know what time people are in your shop. This can help you pick a time for you to place marketing ads for your shop but we will get into more detail later.
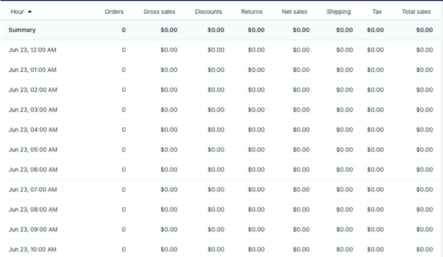
This image shows a summary of sales per hour. It provides orders, gross sales, discounts, returns, net sales, shipping tax and total sales. You can read the sales by each section, by each hour, a full of the day summary.
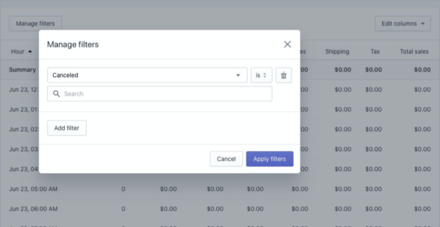
Shopify allows you to “Manage Filters” within the total sales tab. For example, if you want to see the number of canceled sales. You would click the drop-down and find canceled within the different filters. After, click apply filters and you should be able to see the number of canceled orders.
Online Store Sessions
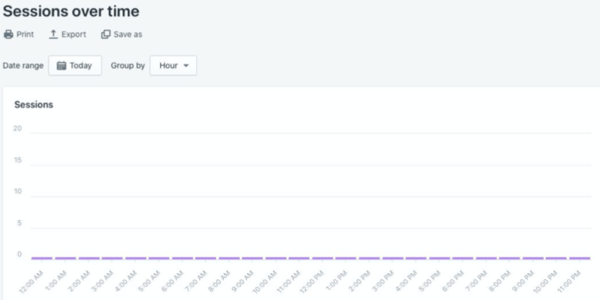
Online store sessions are continuous activity from visitors to your online store. This allows you to monitor the activity your visitors do in your store. Using this information will be useful when you want to launch a new product on your website by analyzing the analytics.
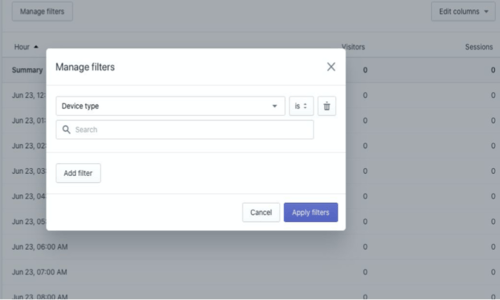
What’s even cooler is you’re able to see what device type, browser, and operating system is on your store. As well, this continues to track their location, landing page, referrer, or if they clicked it through a marketing campaign. You’re able to use this feature by clicking on “Manage Filters”.
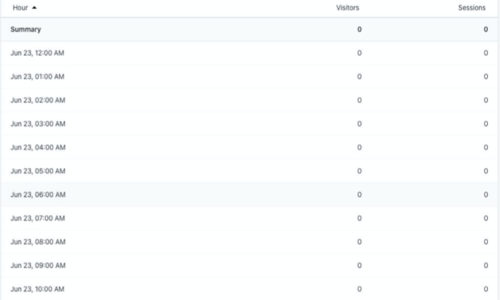
Here is a further detailed analysis by viewing the summary or by each hour of the visitors and the number of sessions.
Returning Customer Rate
Returning customer rates focuses on the percentage of customers that have placed more than one order from your store. It also tracks the dates of customers that return to your shop.

This features tracks first-time and returning customers and provides the analysis of each.
Online Store Conversion Rate
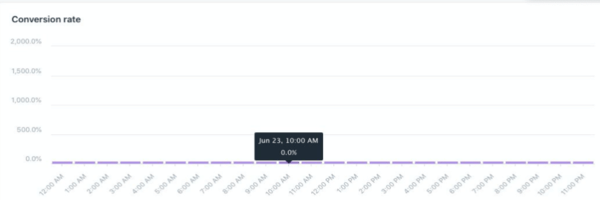
This analytic feature allows you to track the results based on the percentage of sessions in orders and the total number of sessions.
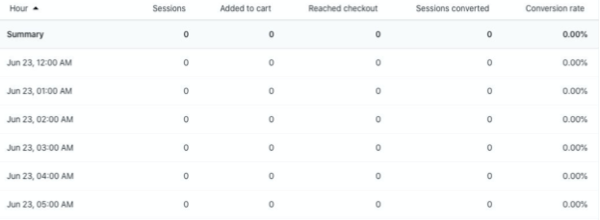
As shown above, in this analysis you can see the sessions of potential customers in your shop. The number of times they added to their cart or reached the checkout. This then provided a conversion rate of the total amount.
Here’s a related guide on increasing your online conversion rate, the process is known as conversion rate optimization (CRO).
Average Order Value
This section includes the total orders, taxes, discounts, and shipping without the number of returns. This is then divided by the total number of orders.
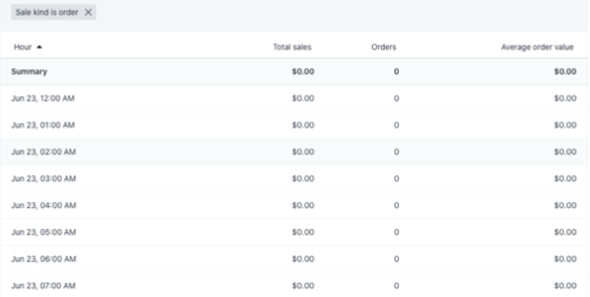
As you can see, you can manage the filters. In this filter, we have listed the “Sale Kind is Order”. This will further track the total sales, orders, and the average order value.
Total Orders
Total orders are the amount of order processed throughout all sales channels. This is an overview of the total sales over time.

Marketing
We all know how easy it is to start an online shop within Shopify. Now we further our reaches on how to run successful campaigns within Shopify platform.
Marketing Applications
Shopify Email

Shopify is now allowing you to build your brand engagement by using pre-built templates for businesses to send to their customers. Using this feature will allow them to share store updates and sale announcements all through Shopify. You’re able to use this feature until October 2020 for FREE.

Using Pinterest as a marketing tool will help you increase organic reach and create ads with free credit.
First, connect your account to start publishing product pins and track performance using tags on Pinterest. This feature allows you to track how many people visit your page, clicked the link provided, clicked on your pin, pinned it, and even shared it.
You might ask “how will my pins reach their search by not promoting?”. It is easy to discover products on Pinterest by using hashtags. If you want to reach more people, Shopify provides $100 ad credit when you connect with the Pinterest Shopify app to launch your first ad.
Read more here using Pinterest as a Marketing Tool

Connecting your Facebook account to your Shopify account allows you to sync your product details to Facebook. This feature promotes any product all within using Facebook.
Using the Facebook ad from Shopify allows you to promote your products for free on Facebook and Instagram. After, you can track the results of your ads and see if you need to make any changes to make a better campaign.
Here is a detailed video on how to setup Shopify Facebook.
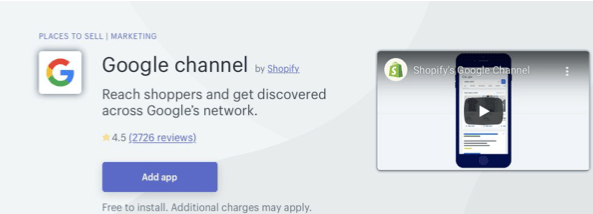
Use Shopify Google channel to get your products on Google platform. Your business will get discovered by consumers who are likely to buy.
If you are in the U.S., you can use the Run Smart Shopping campaign which will list your products for free on the shopping tab on Google.
Like the other Apps, you can track your campaign results and budgets without leaving Shopify. There are other third party applications that do this as well, some even better than Google but those tend to cost a little bit of money.
Here is more detail when using google analytics within Shopify.
SMS Bump Marketing Automation
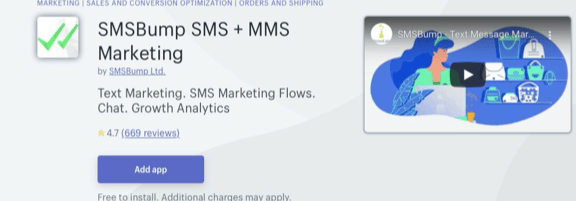
SMSBump is an SMS marketing and automation app. This application is well-loved within the Shopify community because it helps merchants launch, manage, and grow their SMS marketing using SMSBump.
Here is a video how to setup SMSBump in Shopify.
Are you still wondering what are the features? Well this application allows you to send messages about launch dates based on your customer’s time zone. Furthermore, it has detailed analytics that tracks conversion rate, the amount spent, orders, link clicks, and campaign statistics.
Here is an infographic for you to download
